10 Pro Tips for Taking Amazing Screenshots in X-Plane
This guide was first published in our Not-A-Newsletter™
I’d love to share these tips with any fellow developers and the whole community, so you can create stunning and realistic screenshots or videos that people won't believe were made in X-Plane. I’ll be using the trailer for the release of our E-Jets 1.1.0 as a reference here, and I’ll break down some of the shots to show you exactly what I’m talking about. So let’s start by watching the video:
Ok now let’s break it down. Keep in mind that I had to reduce the quality and framerate of the gifs below to optimize website loading.
1. Use the new Screenshot Tool
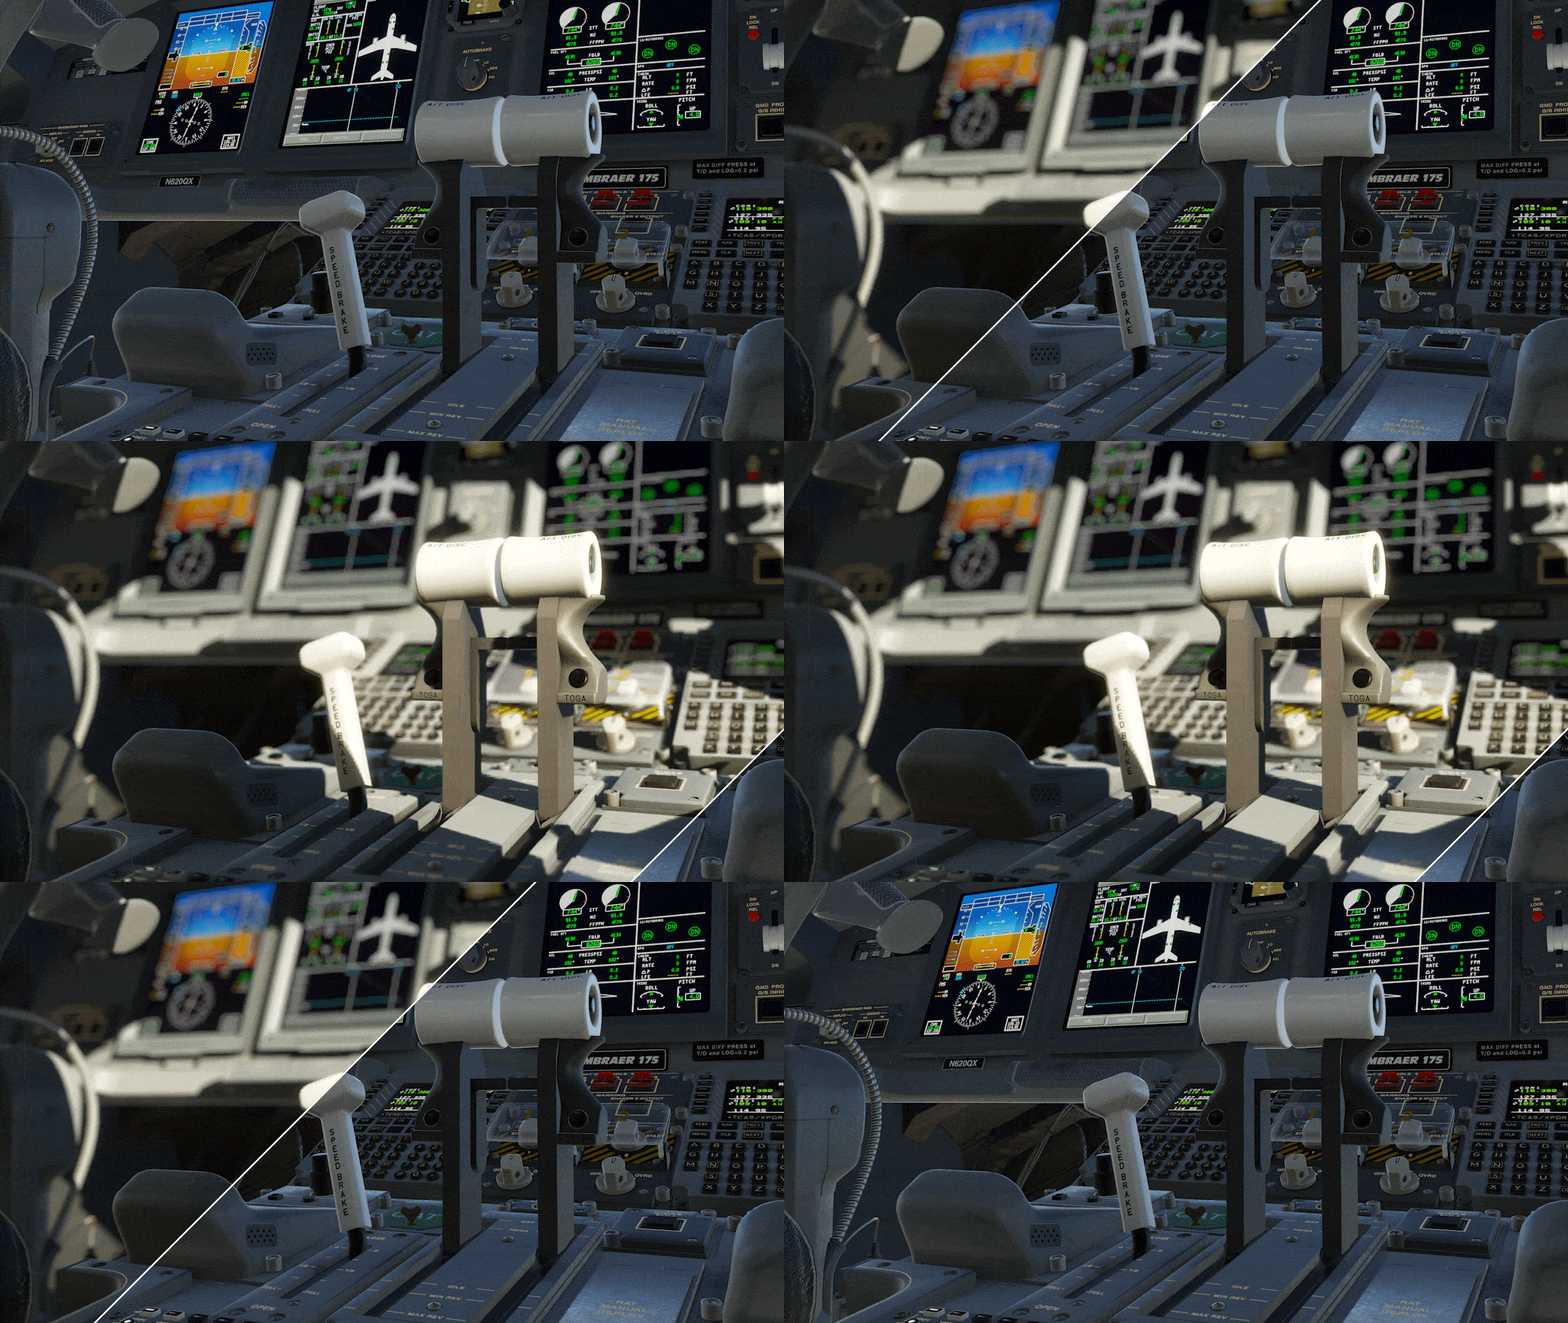
My favorite new X-Plane 12.1 feature is the Screenshot Tool! After 10 long years, we can finally use shallow depth of field, making images look natural—just like real photos. It also does another really great thing - it hides any ugly background, like low-detail scenery, enhancing immersion.
To access it, go to View > Show screenshot controls and click “Enable Depth of Field.”
This works just like on a real camera.
F-number:
The slider on the left gives you smaller “f-stop” values and more blur
The slider on the right gives you higher “f-stop” values and less blur
Don’t overdo it!
Focus distance:
Adjust the slider until the object you want to focus on becomes sharp and the rest is blurred
RCAS:
I like to keep this at 100% for extra sharp screenshots
You can leave the rest on default. As you can see, this creates a beautiful depth of field, enabling you to separate the target in focus from the background.
2. Control the light!
Light is photography’s magic. Great photographers don’t just use a camera—they use light. It creates atmosphere and depth, enhances colors, brings out details in the materials, and draws the viewer’s eye.
Unfortunately, we’re not in a studio where we can move the physical lights like a photographer, so the things we’ll be adjusting are mainly the weather and time of the day.
A.The weather
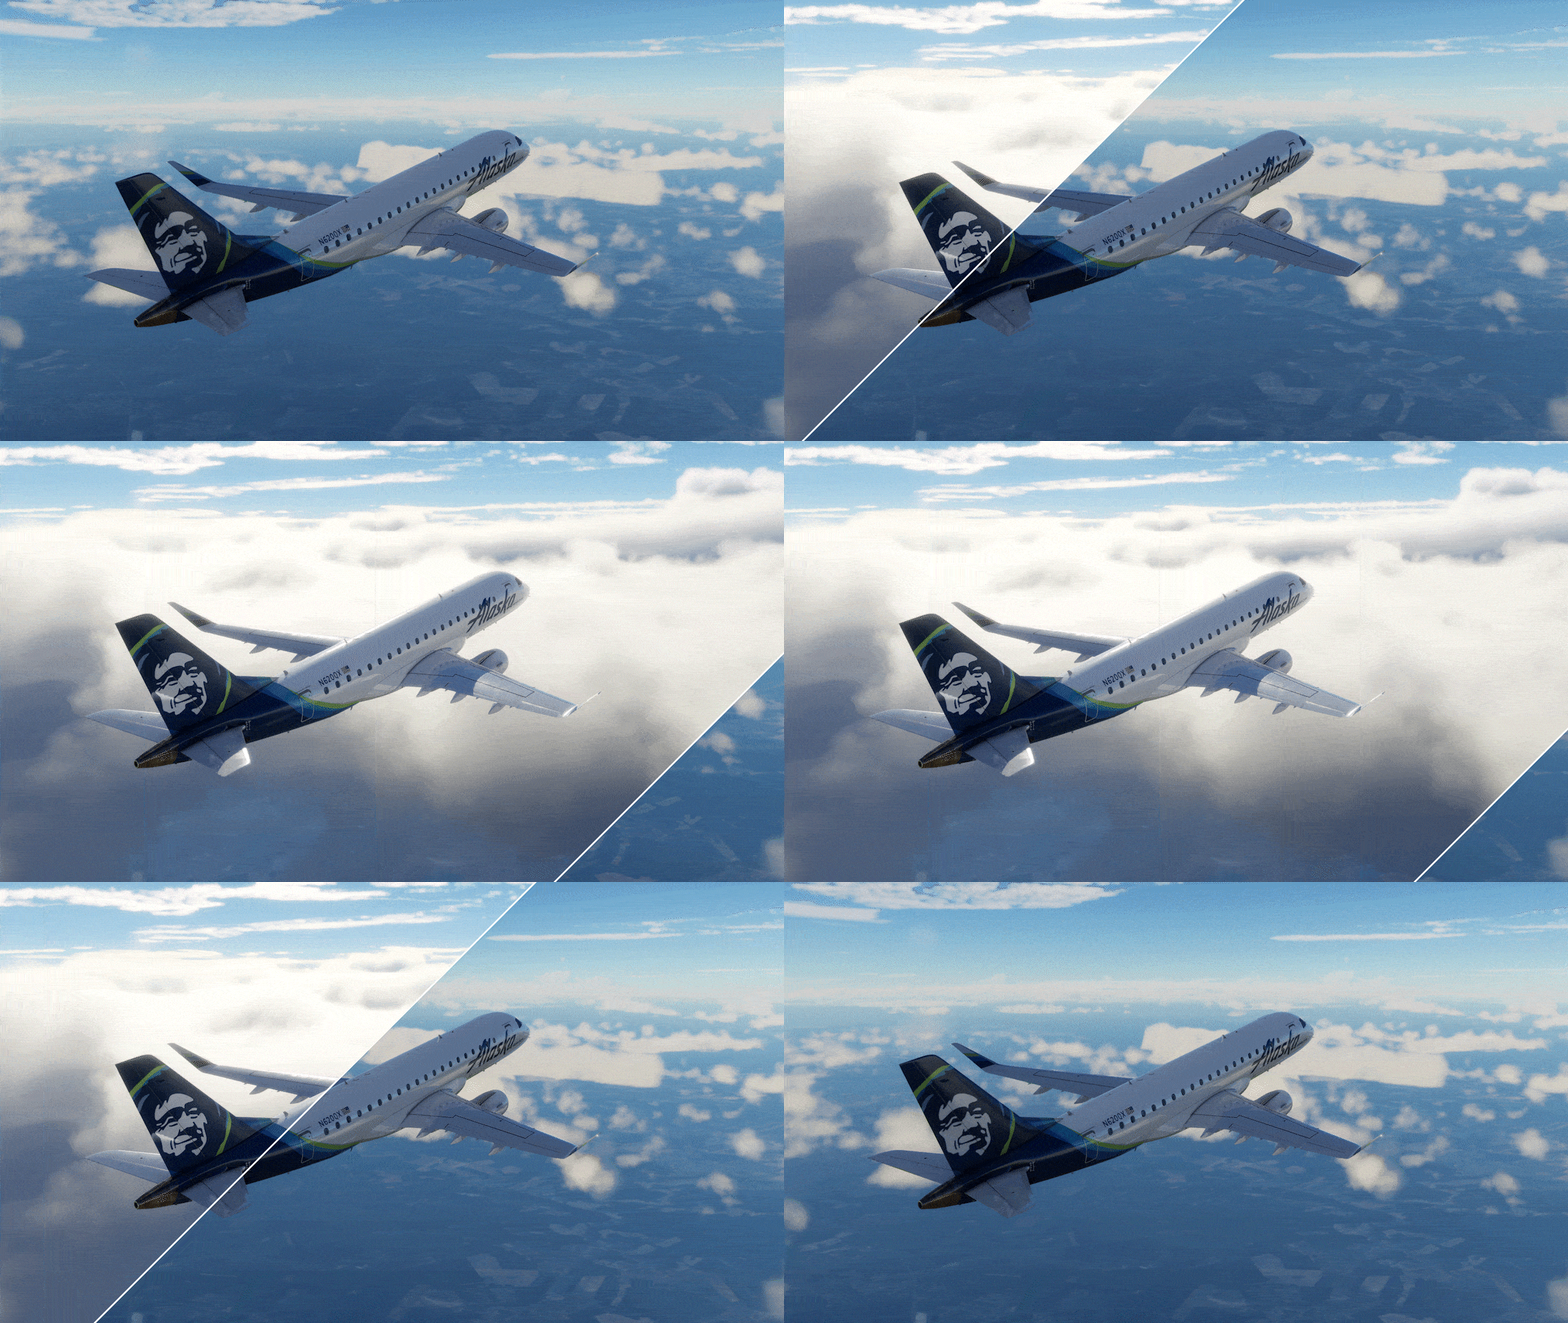
Weather is crucial. The clouds in X-Plane 12 not only create a beautiful backdrop for your shots, they also scatter light realistically and change how the airplane is illuminated. Not all clouds look great btw, so experiment a little bit. I often go for Scattered Cumulus, with the cloud layer around the same altitude I’m flying and I use a tall layer to fill the screen, but again, feel free to get creative here!
I also like to get maximum variety, to break down the repeated cloud patterns as much as possible. Here is an example of my weather settings, but I may change them if I need something else!
PRO TIP:
Assign a keyboard shortcut to “Regenerate Weather” to get different clouds instantly until you’re happy! I use this all the time.
B. Time of Day
This is crucial because it moves the position of the sun, changing the angle from which the light hits the airplane, similar to a photographer moving lights in a studio.
You can use the K and L keys on your keyboard to change the time of the day. You might need to change the keyboard shortcuts to “Time: a lot earlier” Time: a lot later” to change the time faster.
C. A Joker Card
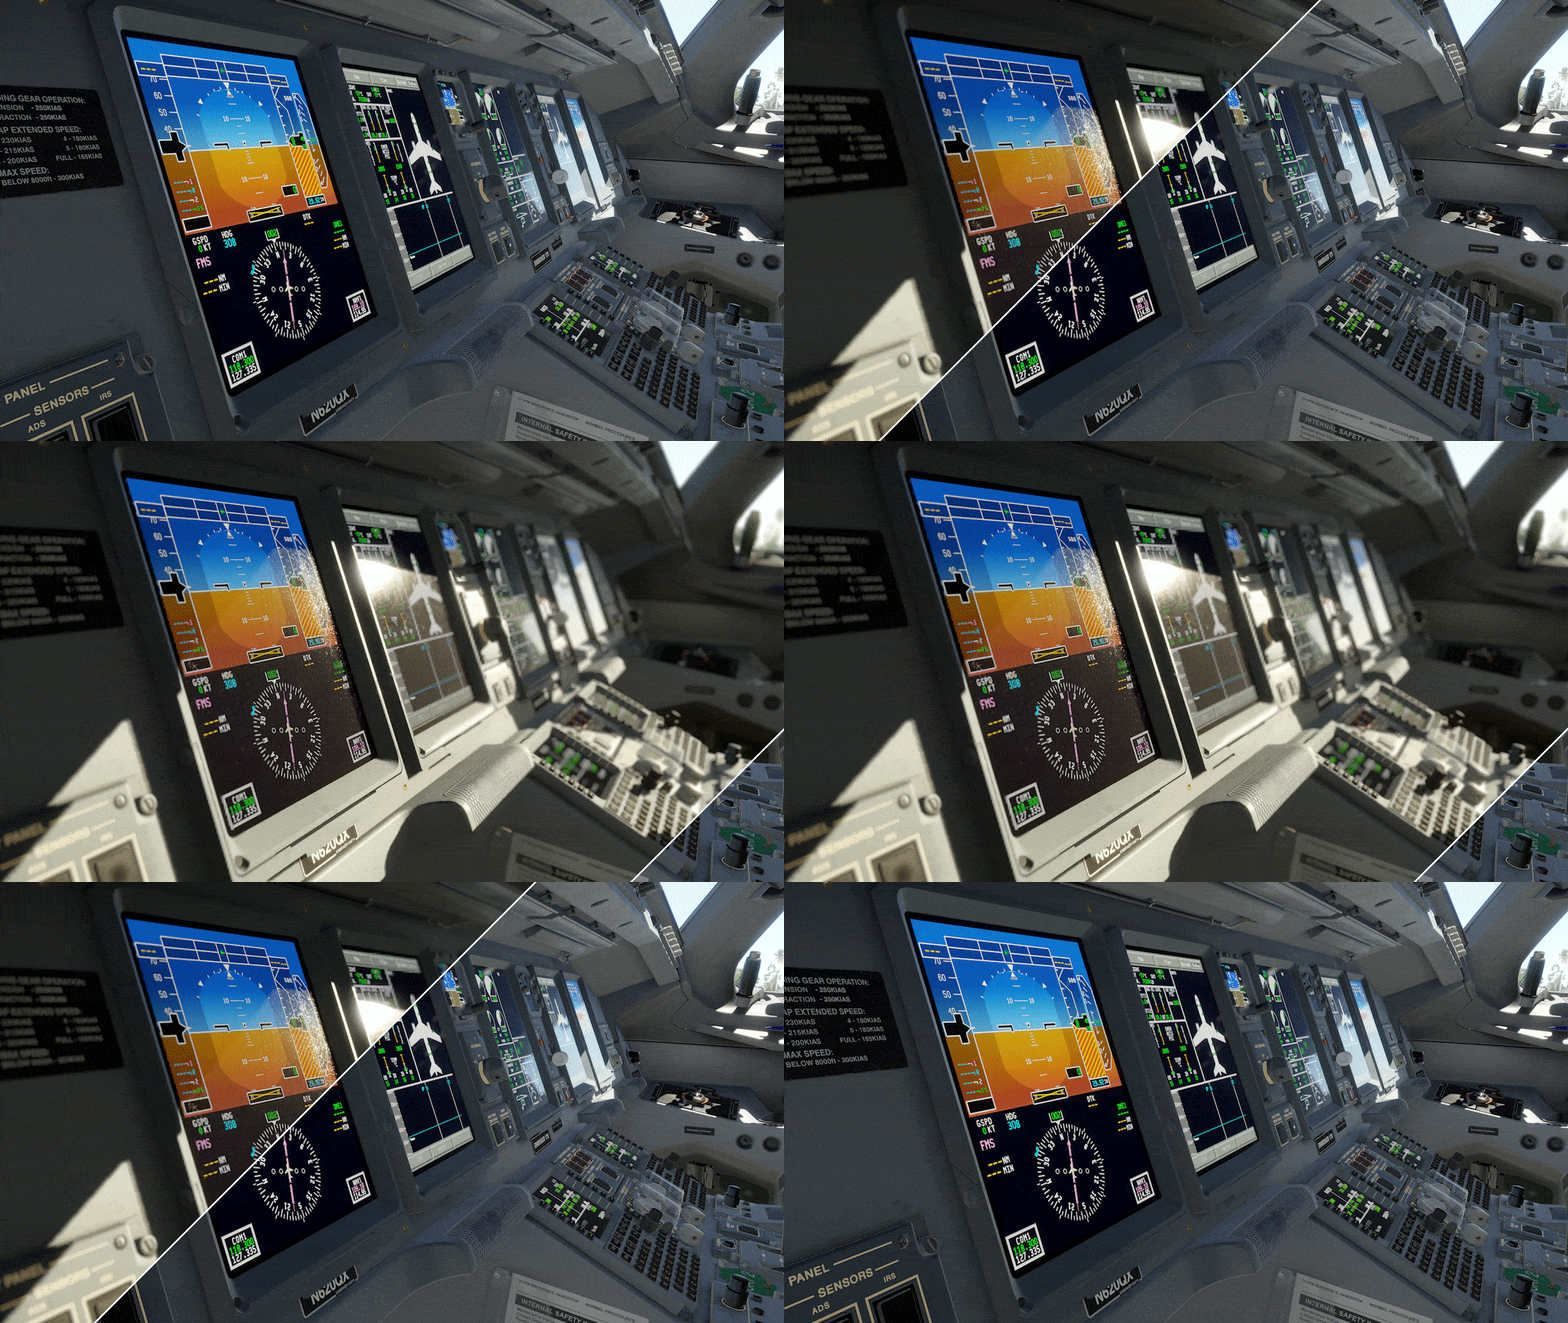
If the cockpit isn’t lit well during your flight, there’s one more trick—change the time of year! In winter, the sun’s lower, giving you better light angles. You can tweak this in the Flight Configuration menu.
Quick Examples
I have many more tricks, which I’ll share below, but the weather, time of day, and shallow depth of field make the biggest difference, so let’s have a quick look at two examples of before and after changing sun position, clouds, and enabling the depth of field.
3. Think About Camera Placement
Be creative with camera angles, but avoid impossible movements—viewers expect realistic shots. For example, the SHIFT+2 “Fly-By” view in X-Plane shot is impossible at 30,000ft because there can’t be a drone, helicopter, or skyscraper with a statically placed camera at that altitude.
Try GoPro-like angles, as if the camera's attached to the plane. Take the shot inside the engine, for example. While practically impossible, it’s a fun new perspective that’s still theoretically possible—just imagine some really strong glue holding the GoPro against the 20,000ft jet engine airspeed.
If you want an exterior shot not attached to your plane, again, in real life this is only possible from another airplane, that has to fly in a normal way next to your plane. So don’t go crazy on those camera movements or they'll stand it as unrealistic.
4. Record Live or Replay?
Recording live is tricky because you also need to fly. So, I often fly first and record the replay for exterior shots. Interior shots, with instrument issues in replay, must be done live—sometimes requiring full flights just to capture one moment. And if I miss that moment, or the lighting is wrong, I have to start a whole new flight and do it all over again. This has happened many times while creating this video.
5. Add turbulence!
Calm flights are boring. Adding turbulence makes the plane feel alive with shaking wings and airflow. Check out the final steep approach shot—turbulence adds that extra touch of realism.
6. The Hitchcock Vertigo Zoom
Quick shoutout to Alfred Hitchcock’s famous “Vertigo” camera trick—moving the camera forward while zooming out.
Here’s how Steven Spielberg used it in Jaws
And here’s how another Academy Award-winning director used it in the new E-Jets Trailer
7. Patience… Lots of It
Speaking of that steep approach into London City… It took me 8 tries to get a smooth landing! Every new attempt was another at least 5 minutes of flying until I could see if I could nail it. After 50 minutes I finally got an acceptable landing!
8. Keep the Flow
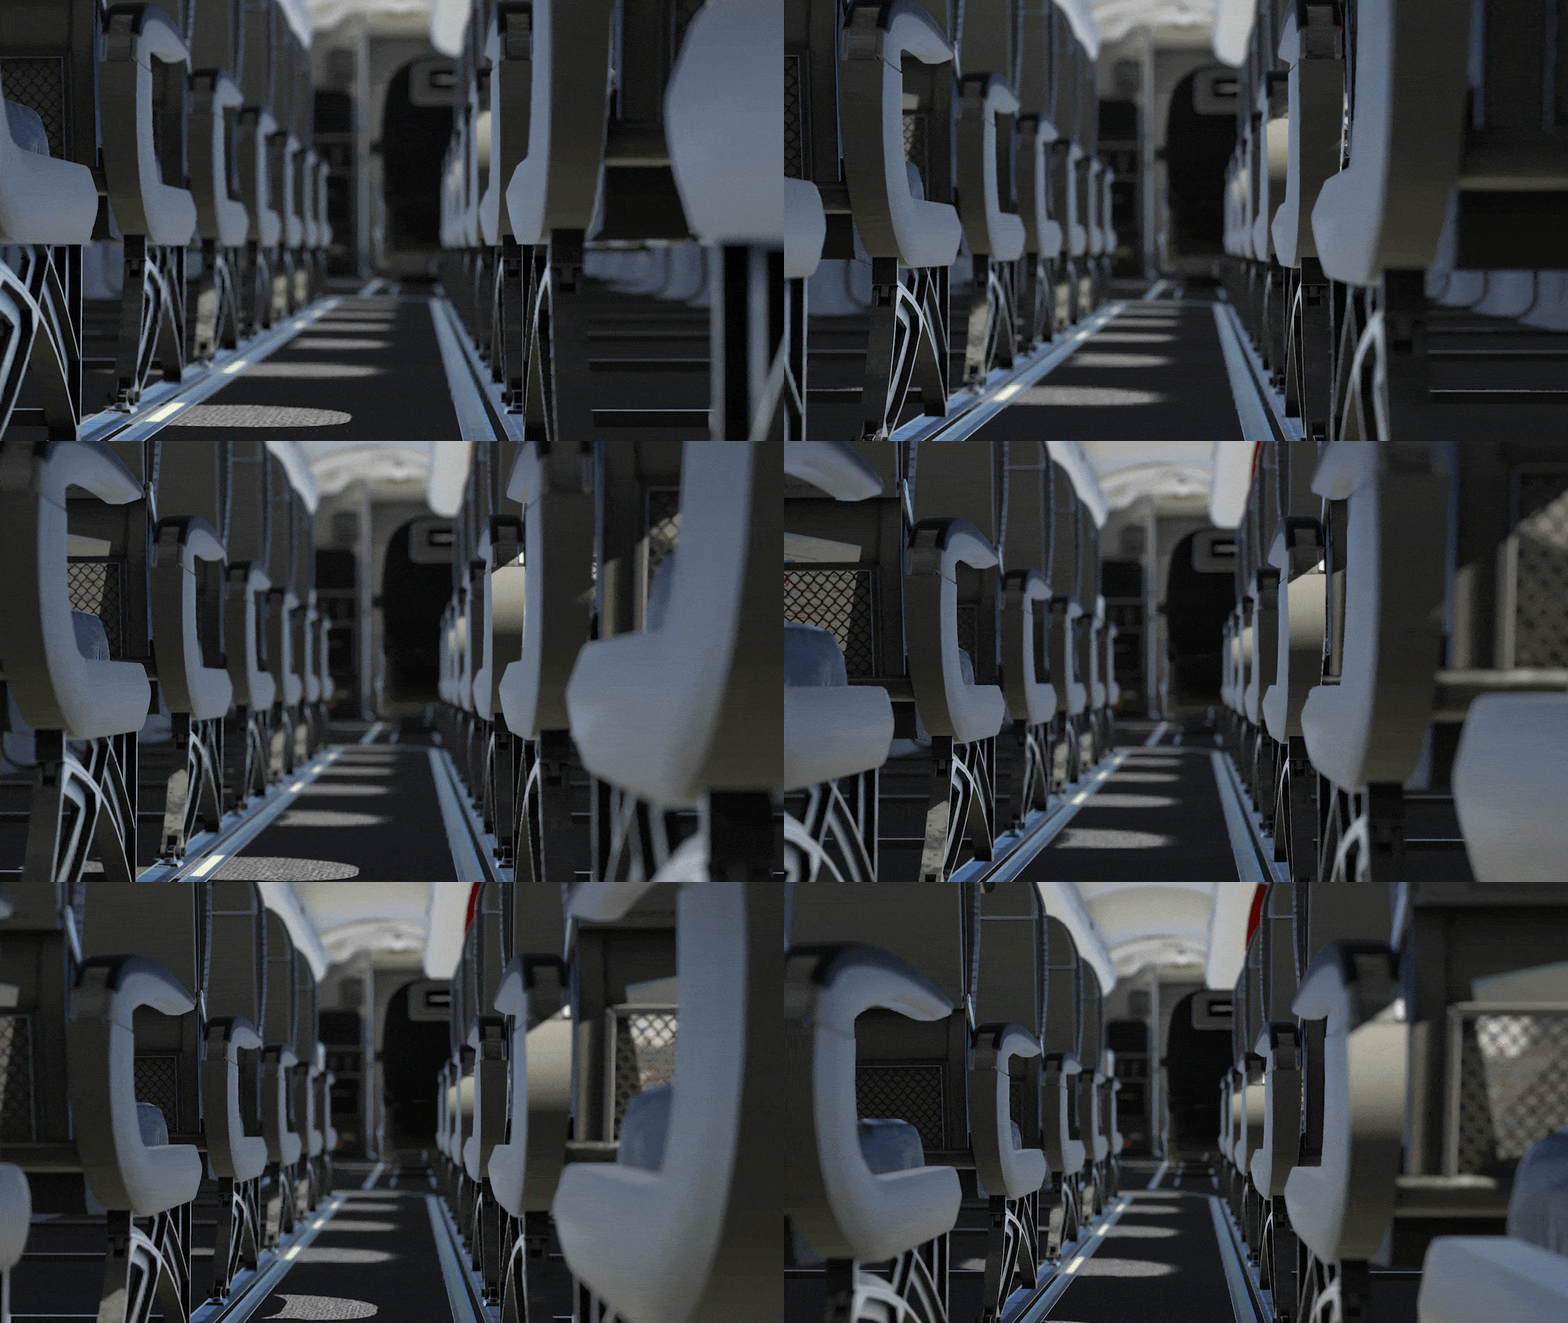
Each shot should flow into the next. Notice how the E190 rolls left, and I matched that movement in the next shot with the FMS. The problem came when the cabin shot where light originally traveled the opposite way. Luckily, there’s another trick — I applied a mirror effect to flip the clip horizontally, aligning the light direction perfectly. This technique won’t work for exterior shots due to mirrored text.
All of these details matter. You wouldn’t notice if done right, but if done wrong, it feels off. Same with the E-Jets—tiny things make all the difference in fully immersing you in the sim.
9. Hardware!
Naturally, the better hardware you have, the better screenshots or videos you’ll be able to take. For screenshots, you can still max out your Graphics Settings, and even with the low frame rate, you’ll be able to take that still screenshot.
But for videos, you really need a powerful machine to run X-Plane at very high rendering settings, while keeping a smooth frame rate. So if you are a developer or content creator, consider investing in proper hardware to show your add-ons and X-Plane at its best, not at its worst!
And keep in mind that it’s not all about the GPU. I used an RTX4090 for creating the trailer above, however in most cases I saw that the bottleneck was the CPU, and not the GPU.
To learn how to boost frame rates in X-Plane or identify the bottleneck, check out our X-Plane Performance Optimization Guide.
10: Dealing with Low Frame Rates
Flying over heavy areas like London can drop framerates unusable for video. You need at least 24fps for a smooth video. But I thought of a new trick! Record the replay in slow motion, which will add more frames per second, then speed it up in post. Even at 12fps recording speed, this method can result in super-smooth footage. Any fellow developers will really benefit from this.
Note that this isn’t a method to conceal bad add-on performance. I expect that the add-on you’re using is working fine most of the time, but if there is one particular angle you want to get, that might cause you issues due to a heavy scenery, this trick can help.
I hope you found these tips useful! Which surprised you the most? Let me know! And, of course, I’d love to see your best screenshots—just reply to this email with your favorites!


